


Kaniki’s is pleased to bring to you- a whole new line of
my pattern packets, called “Doodle Packets”
This one is for the mailed version- sent via USPS.. Check my other listings if you want the instant download...
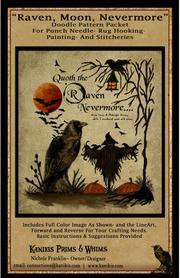
Raven, Moon, Nevermore!!!
Welcome!!! So glad you found my shoppe- and decided to jump in with one of my fun Doodle Packets….
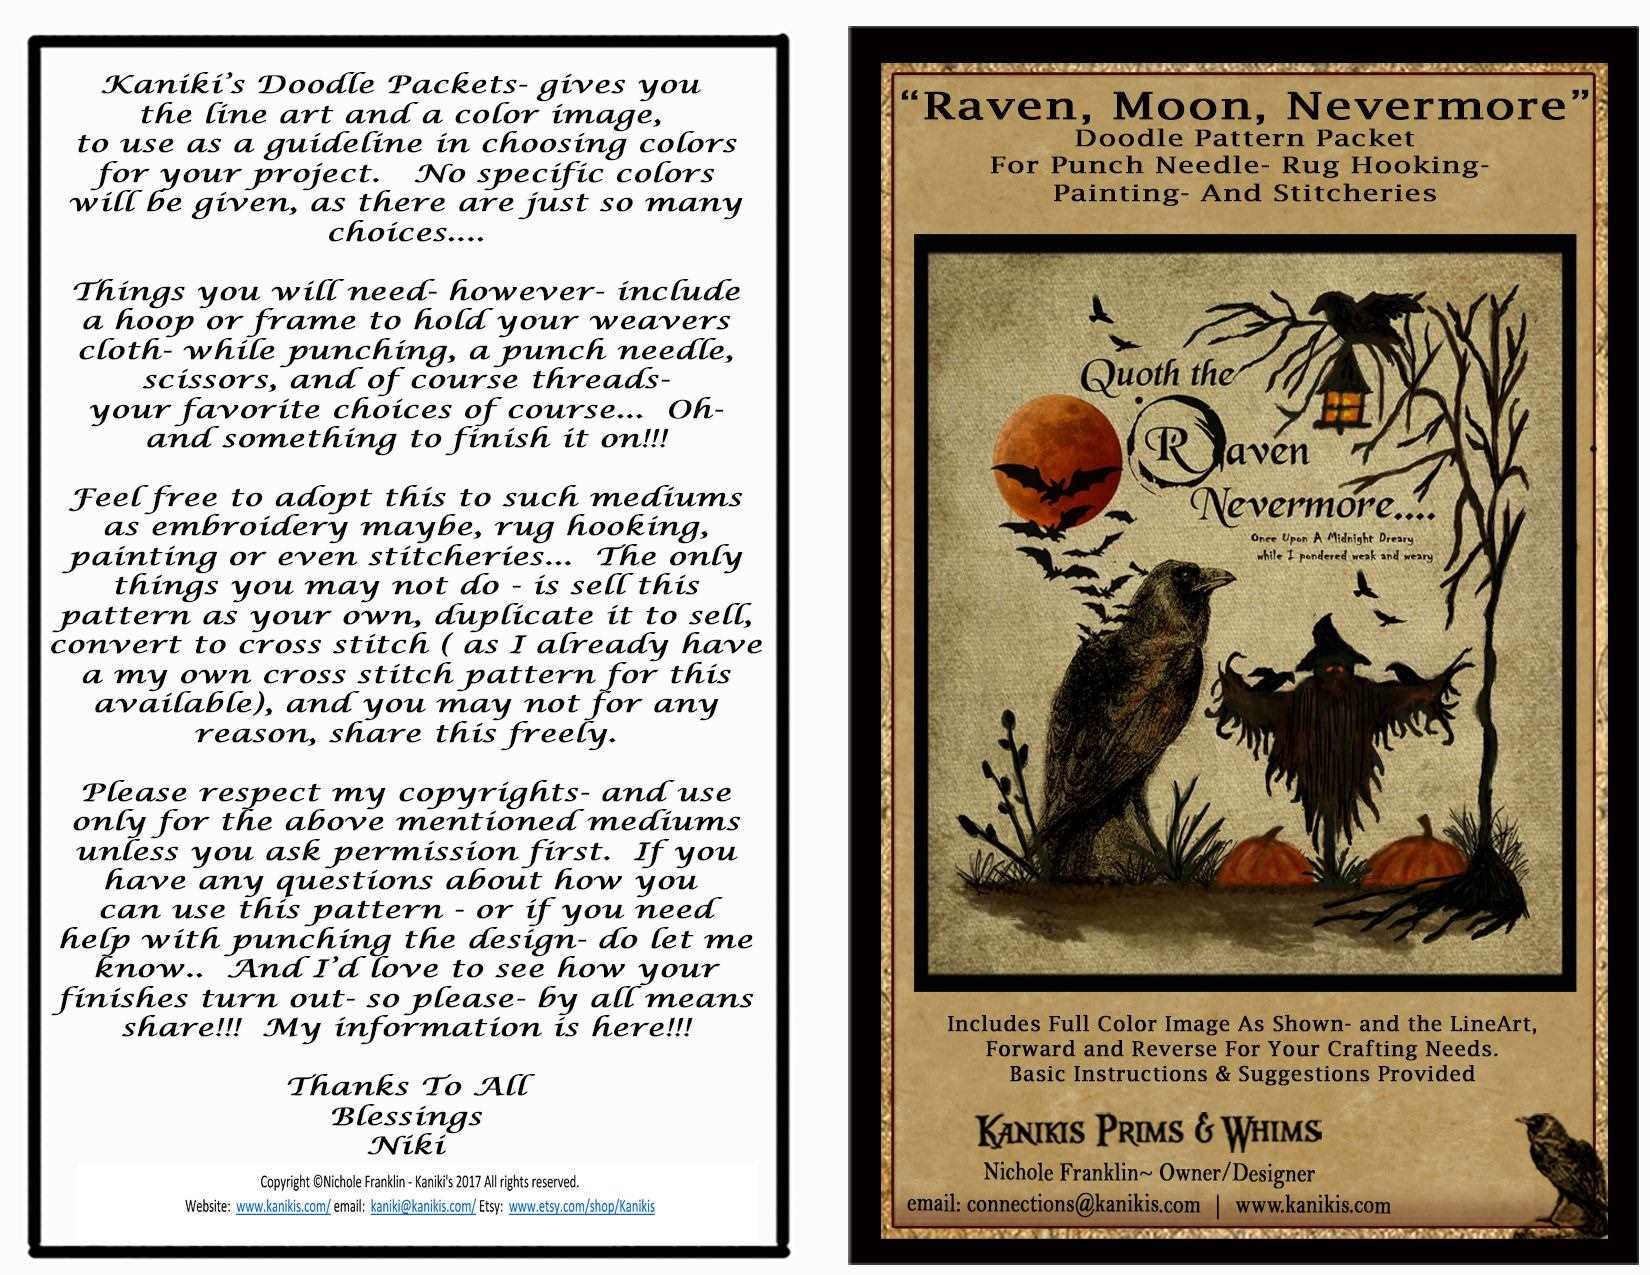
Kaniki’s Doodle Packets – gives you the line art- and a color image- to use as a guideline for your project. No specific colors are usually given in my doodle packets- but in this one- I’ll give you some of the colors I used- when completing this as a cross stitch pattern. I used all Gentle Art Colors… Those are listed below. I didn’t do a background color in my stitched design- so I’m leaving that up to you. I can’t wait to see what everyone does…
Basic Supplies- are listed- but by all means- you choose what you need based on the project you are going to do… If you need help- just let me know… I’m easily available..
To Start: Transfer the pattern to your weaver’s cloth. I used a nice sized piece- to fit the whole design in the punching area. This is up to you though!! All pattern pieces are ready to transfer, with the design already reversed. If you’d like to try and hook this pattern, then by all means, enlarge to suit your taste, and reverse back to normal.
Just a few tips on this design and others too. Always start with outlining and your smallest areas first. For many patterns with tiny elements, I will often punch using 2 strands of thread and then switching to three. You’ll of course want to just use your best judgment and what you feel comfortable doing. Don’t be afraid to leave out some detail if you just can’t fit it in- and like me- I sometimes have to go back through- touch things up- and then do some trimming with my small scissors. And keep things neat and tidy as you punch. Trimming threads close as you go. It’s quite helpful in getting that final detail in your punched design…..
Finishing Tips: There are many ways to finish your punched project. First, trim all loose threads sticking up on the front. I personally steam both fronts and backs of mine, after carefully trimming all loose threads. Then I turn over to the back side and I actually hand stitch with mitered corners, all around my piece, to make sure that weavers cloth is tightly tacked down, won’t show on the finished side of my project, and this also ensures the threads won’t unravel. Then I trim it really close to my stitches and make sure everything is nice and tidy… There are a lot of great videos and tutorials you can find on the web, to help guide you along the way….
Basic Materials Needed: Fat quarter weavers cloth **, 3-strand punch needle, Thread Colors of Choice…, Small, sharp scissors or thread snips, 8- to 10-inch non-slip hoop or gripper frame, Permanent marking pen, Needle & Thread, and some way to transfer your design!!! Don’t forget too- you’ll need something nifty perhaps to finish this on!!!
Color Suggestions: When I did my cross stitch pattern, the colors I used were all Gentle Arts Threads… I used, Expresso Bean, Dark Chocolate, Tarnished Gold, Burlap, Gingersnap, Pumpkin Pie, Fragrant Cloves and Wheat Fields… Oh- the possibilities are endless!!! 😊
As always- if you have any questions- don’t hesitate to ask….
Blessings
Niki
